User Manual / Composing & Replying with AI
Composing & Replying with AI
Summary
Mailboard AI lets you write a brand-new email or reply to one straight from the board. Both the compose window and the reply window can write a first draft for you: describe what you want to say and the configured AI model produces the message, which you then edit and send. Replies are sent through the originating inbox, the email is marked read, and its sticker is cleared. Each inbox can carry a signature that is appended to new mails, replies, or both.
Features
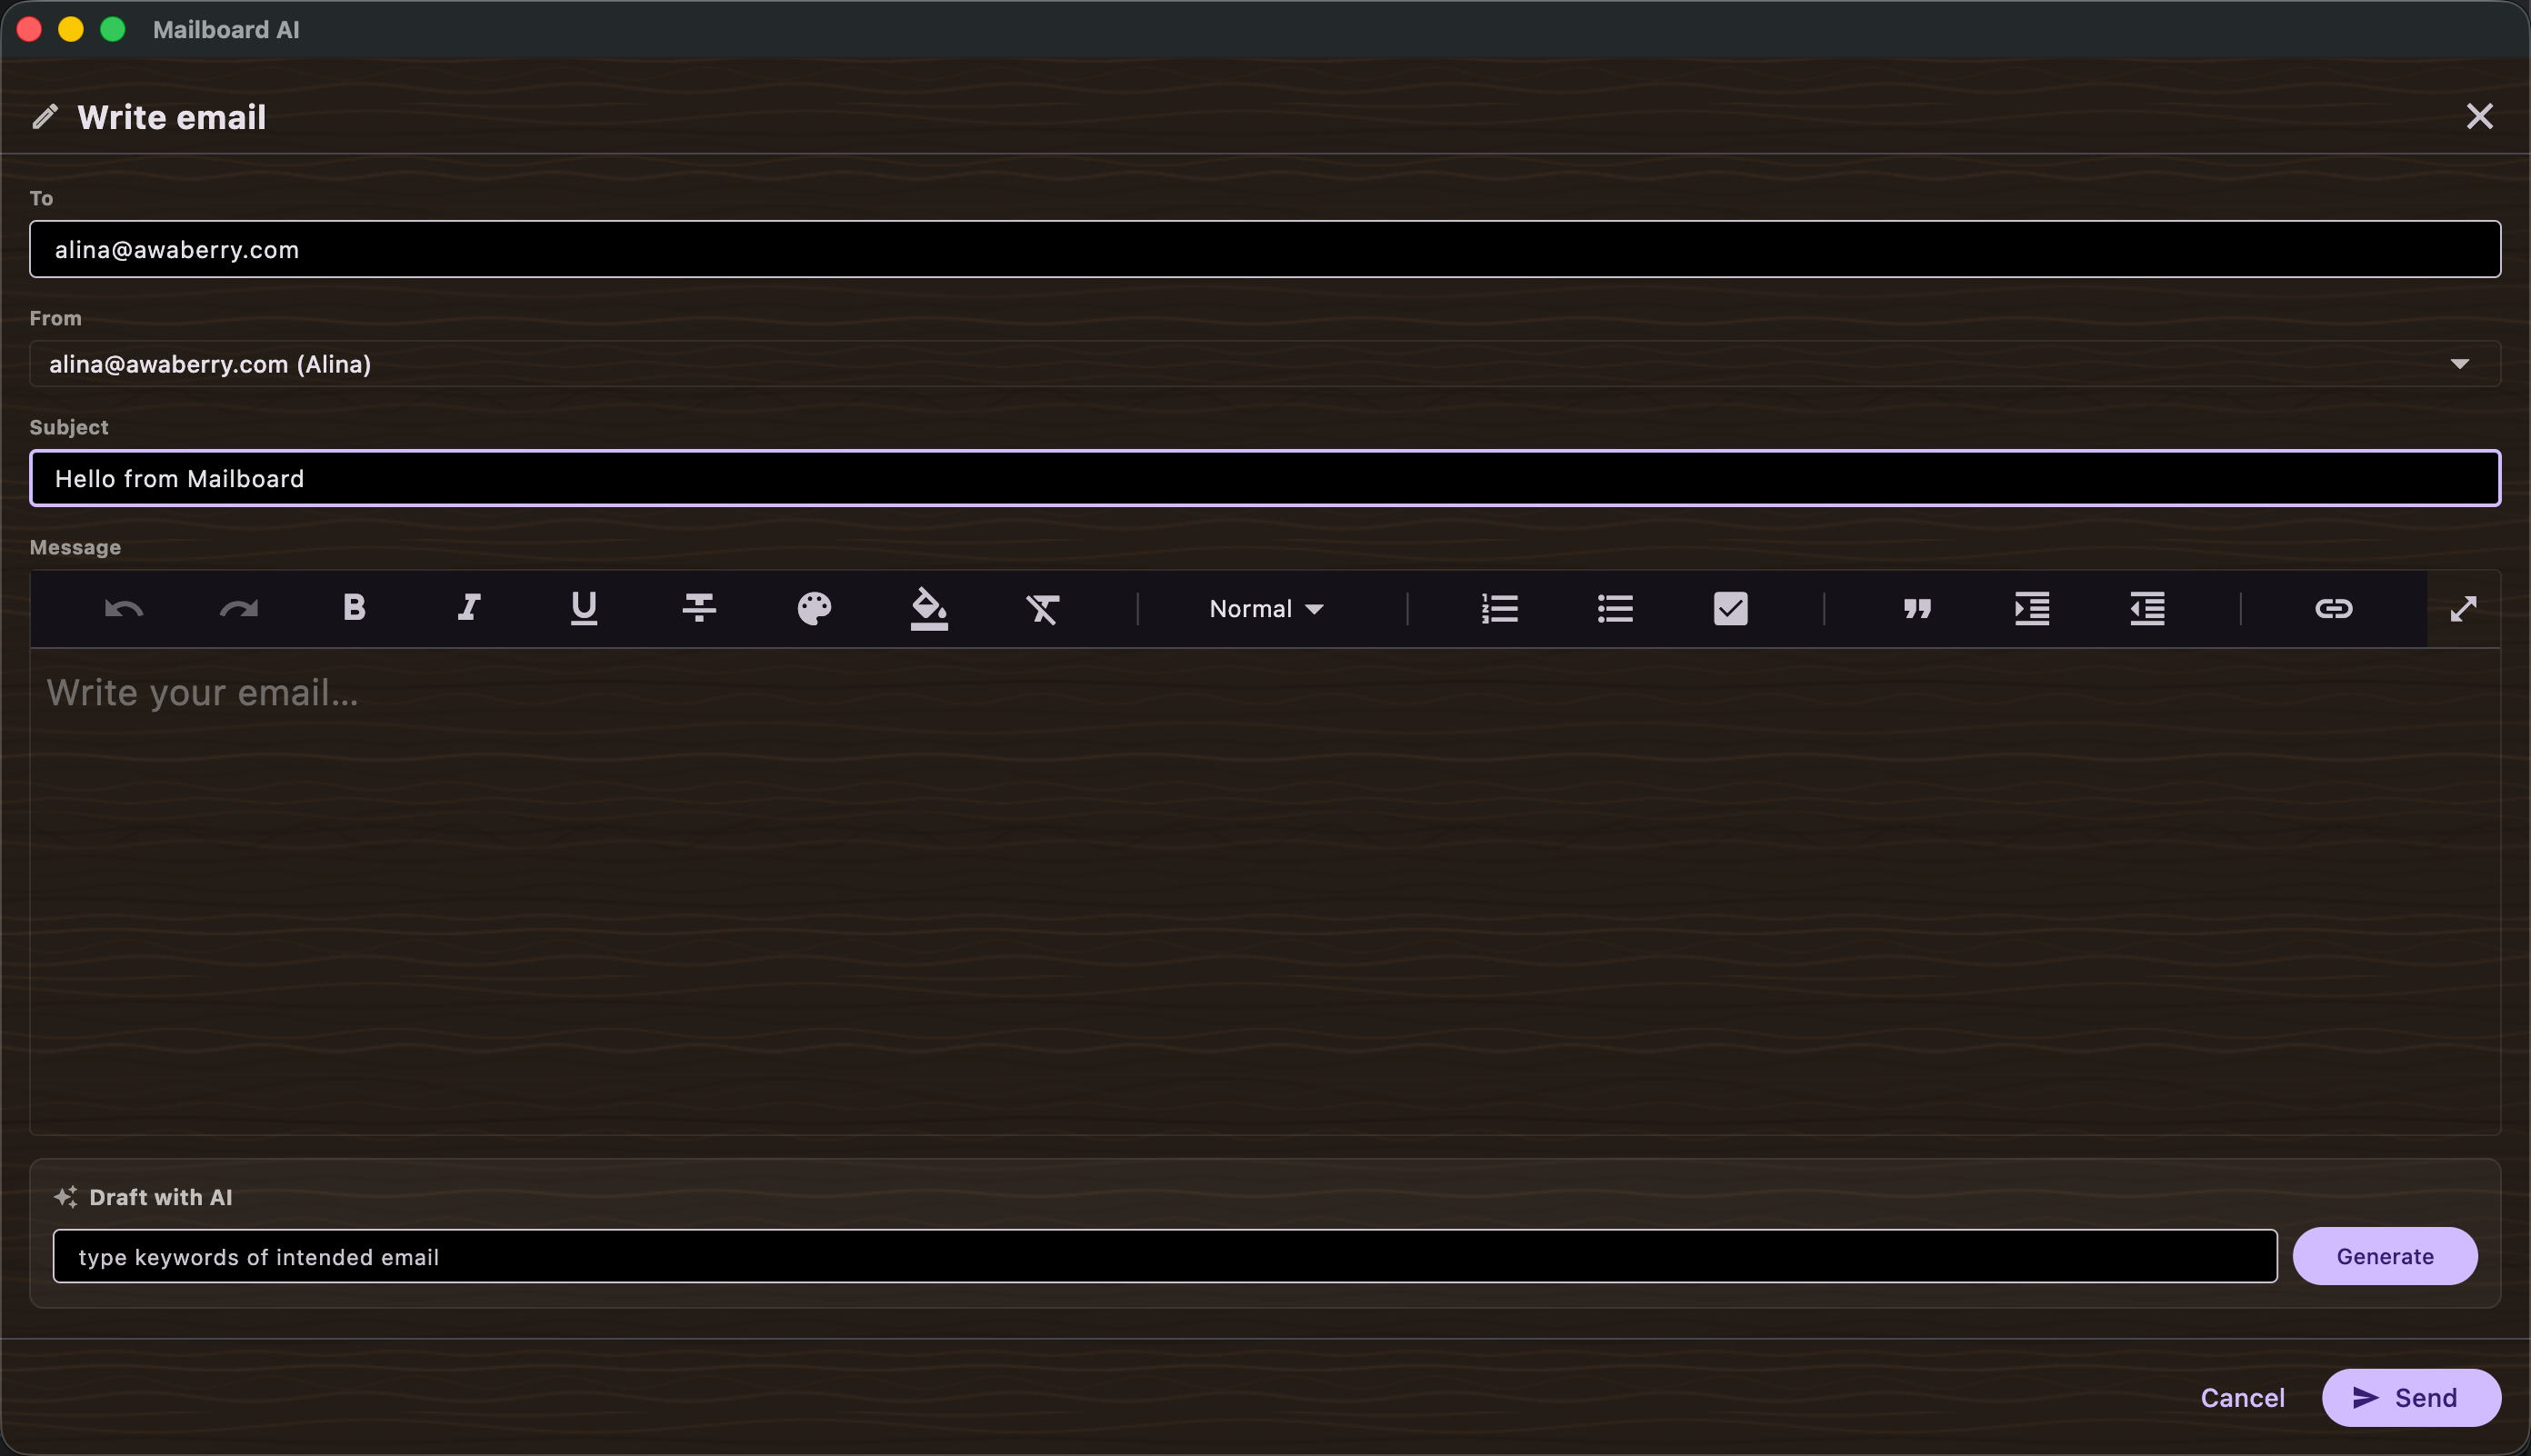
- Write email dialog — opened from a sender action (e.g. "write email"); provides a Subject field, a multi-line Message body, and a Send button.
- Draft with AI (compose) — describe the email you want and the AI model drafts it into the body. The option prompts you to configure an AI model first if none is set up.
- Reply dialog — opened from a sticker's Reply action or the reader's reply control; shows the original message and a reply editor.
- Draft reply with AI — generates a suggested reply from the original email's content that you can edit before sending.
- Mark as read and remove from board — available in the reader; clears the sticker once you have dealt with the email.
- Copy — copy message text to the clipboard from the reader.
- Signatures — set a per-inbox signature and choose whether to Use signature for new mails and/or Use signature for replies.
Scenarios
Write a new email with AI help
- Open the Write email dialog for the recipient.
- Tap Draft with AI and describe what the email should say.
- Review and edit the generated draft, fill in or adjust the Subject, then tap Send.
Reply to an email on the board
- Tap Reply on the sticker (or open the email and choose reply).
- Optionally tap Draft reply with AI to generate a starting reply.
- Edit the text and send — the reply goes out, the email is marked read, and the sticker is removed.
Add a signature
- Open the signature editor for the inbox.
- Type your signature text.
- Enable Use signature for new mails and/or Use signature for replies, then save.