User Manual / The Email Board
The Email Board
Summary
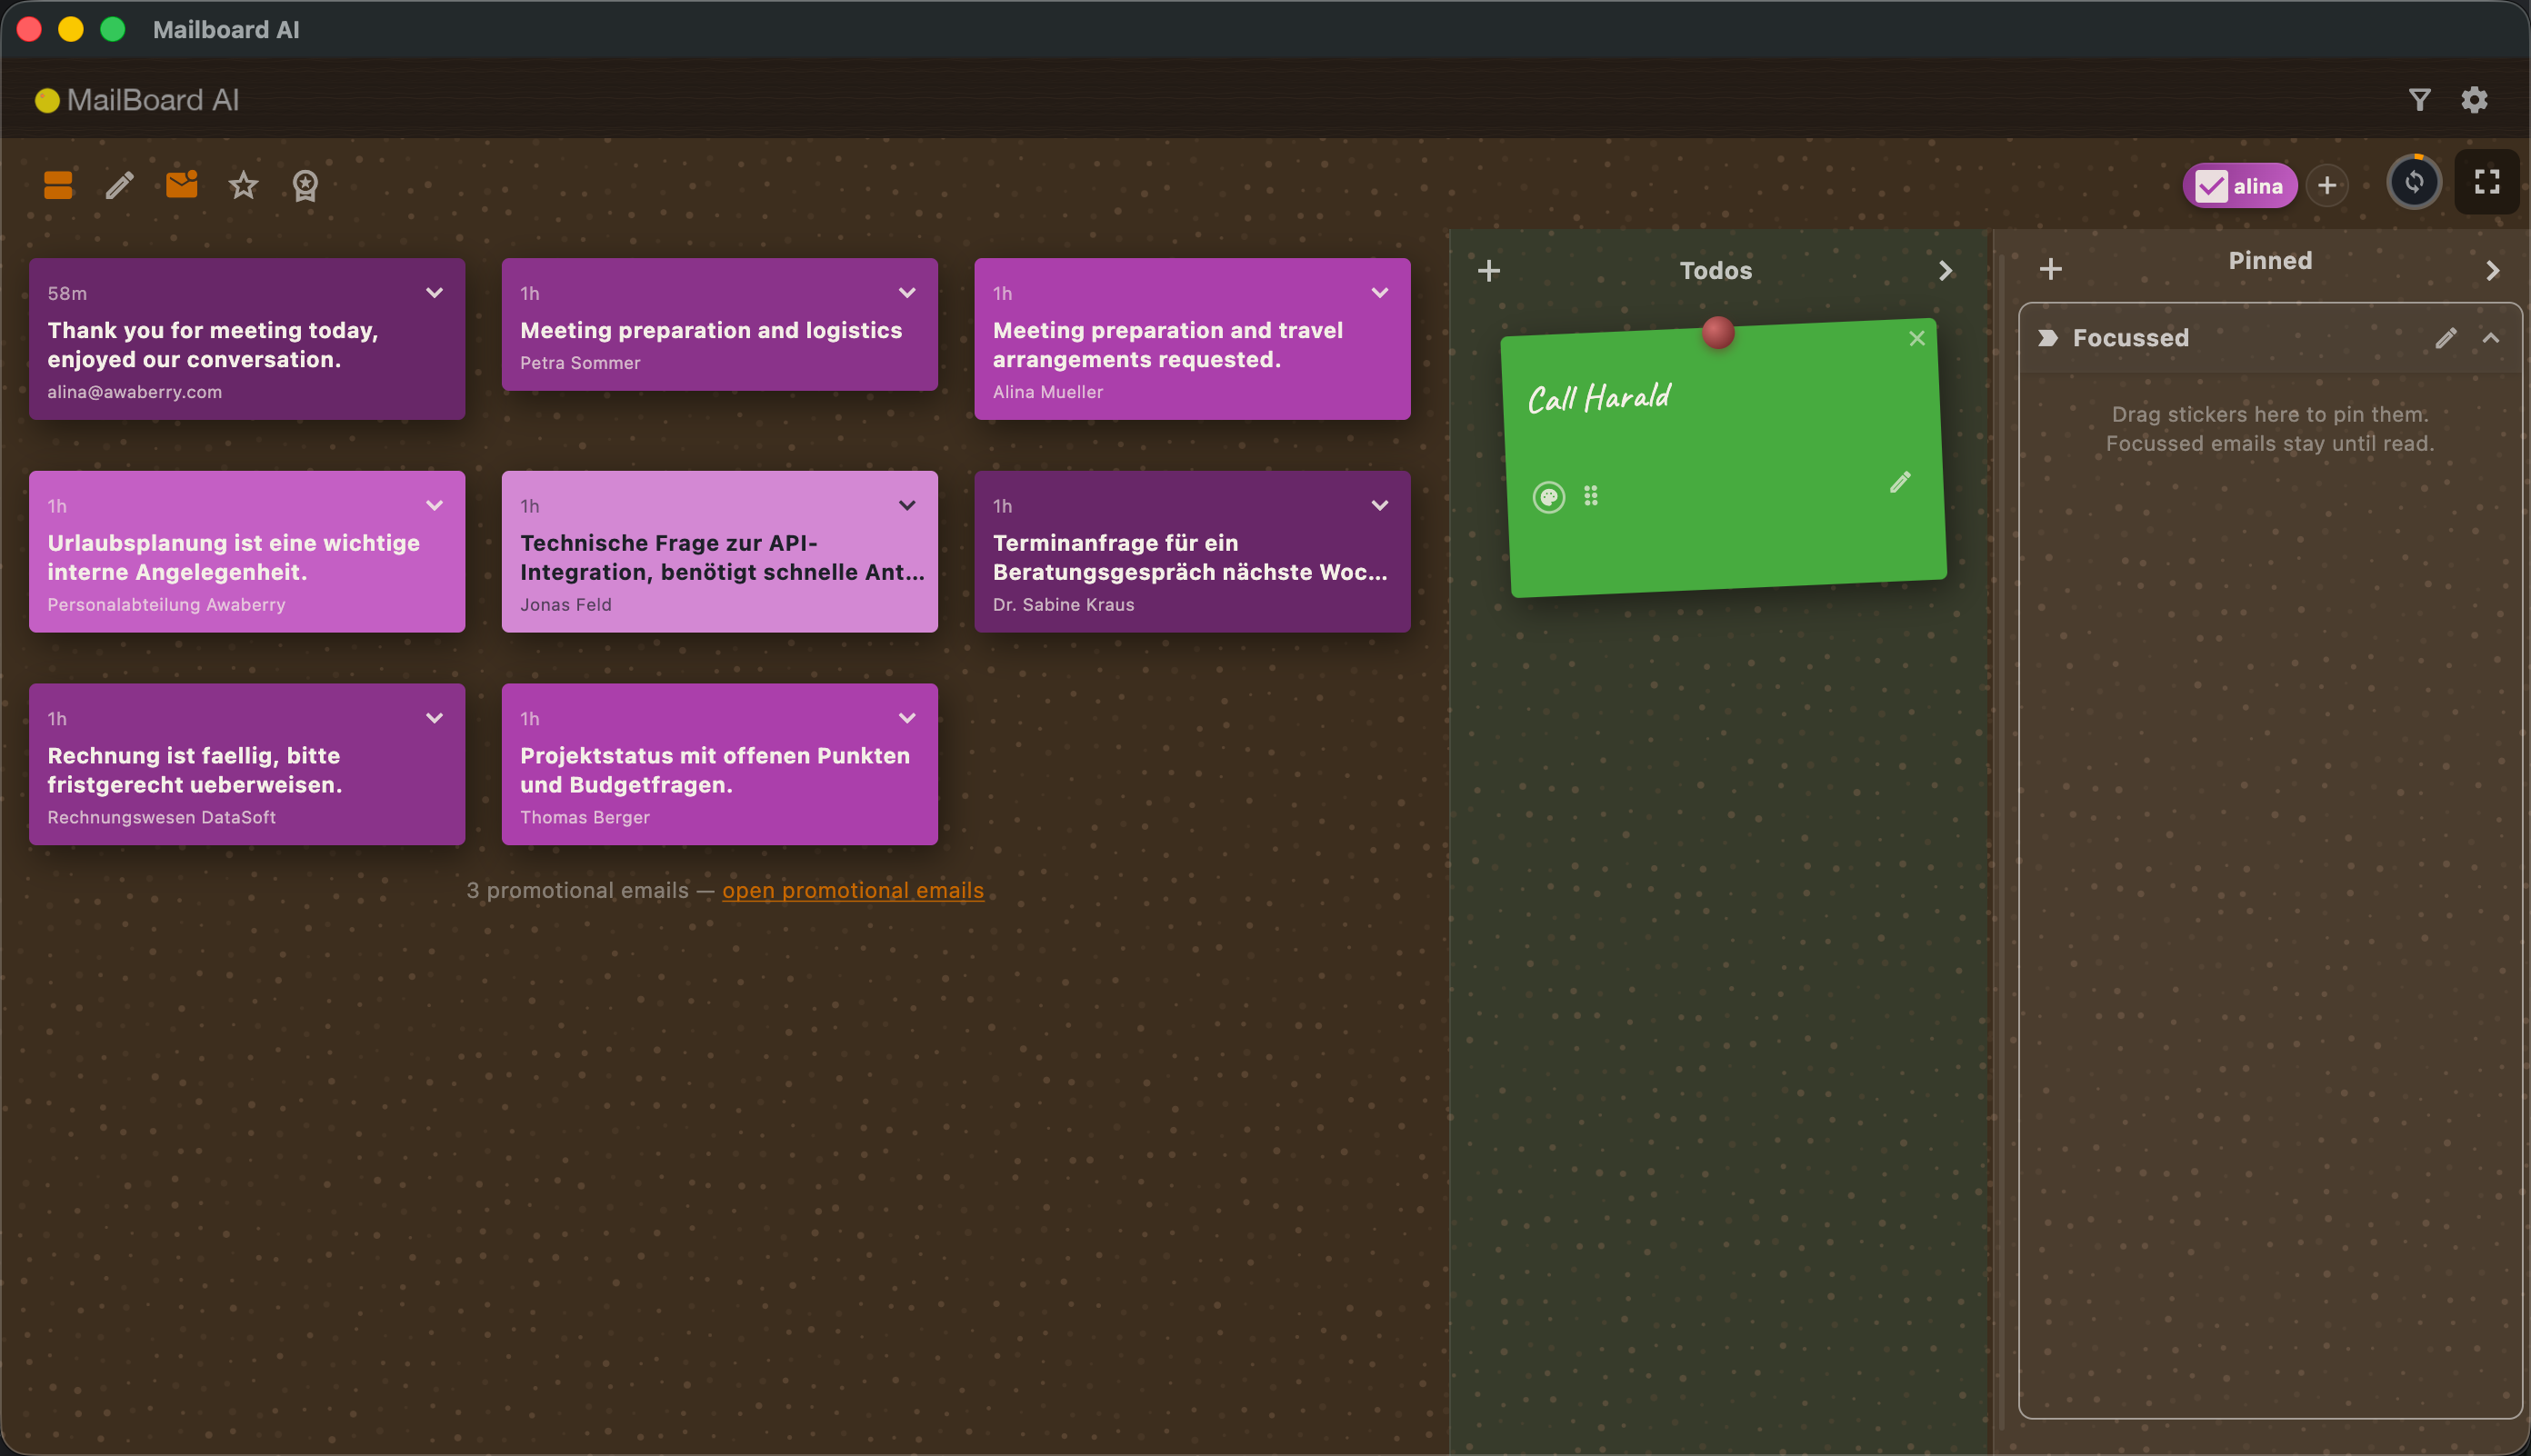
The Email Board is the home screen of Mailboard AI — a cork board onto which the app pins the important emails from every linked inbox as sticky notes. Each sticker shows the sender, subject, an AI-written summary, and a coloured needle that tells you at a glance whether the email is read. From here you read and reply to mail, clear stickers you are done with, filter what is shown, switch inboxes on and off, and reach the two side panels — Pinned (focused sections) and Todos. Top-of-board banners flag anything that needs attention, such as missing AI configuration or a sync problem.
Features
- Header (desktop / web) — the "Mailboard AI" title with two icons on the right: Classification (opens the classification & statistics overlay) and Settings (opens inbox and board settings). On native iOS / Android these are replaced by a bottom navigation bar with Pin, Classification, and Settings.
- Email stickers — one sticky note per important email, tinted in its inbox's colour and held by a needle. See Reading & clearing email stickers for every action a sticker supports.
- Needle colours — a legend at the top of an empty board explains them: red needle = unread, yellow needle = read. Moving a needle removes the sticker.
- Inbox badges — a coloured pill per inbox sits on the board strip. Its checkbox toggles that inbox's stickers on or off; tapping the name opens that inbox in Settings.
- Filter button — narrow the board to unread only, favourites only, or top senders only.
- Pinned (Focused) panel — a resizable right-hand panel of named accordion sections you drag stickers into. See Using the Focused box.
- Todos panel — a side panel of free-text reminder stickers. See Creating Todo stickers.
- Compose & reply — write new emails and replies, optionally drafted by AI. See Composing & replying with AI.
- Summarise threads — condense a long email thread into key points, the people involved, and a suggested reply. See Summarising a long email thread.
- Full-screen mode — an expand button opens the board across the whole window; a collapse button returns to the embedded view.
- Status banners — context lines appear above the board for: no AI model configured, AI quota exceeded, an inbox authentication error, an expired subscription, daily managed-AI usage reached, emails that could not be classified, a classification cool-down, and an iCloud sync prompt. Each banner can be dismissed with its "×" until the condition recurs.
- Onboarding board — before any inbox is linked, the board shows guidance stickers ("Your Smart Email Board", a classification card with Configure email classification, an Add first inbox card, a privacy note, and a try-me example email) plus the needle legend.
- Logs row — below the board (desktop / web) a Logs link reveals recent sync and classification activity for troubleshooting.
Scenarios
Set up the board for the first time
- On a fresh board, read the guidance stickers and the needle legend at the top.
- Tap Configure email classification to choose a managed AI plan or enter your own API key.
- Tap Add first inbox and link an email account.
- Wait for the first sync — important emails are classified and pinned as stickers.
Focus on just what is new
- Tap the Filter button and choose unread only.
- Work through the red-needle stickers, opening or replying to each.
- Move each needle down to mark the email read and clear its sticker.
Concentrate on one inbox
- Find the inbox badges on the board strip.
- Untick every inbox except the one you want to focus on — only its stickers remain visible.
- Tick the others again when you are done.
Open the board full screen
- Tap the expand (full-screen) button.
- Work the board across the whole window.
- Tap the collapse button (top-right) to return.
Every sticker action: open, reply, delete, favourite, mark promotional, and the needle that marks read and removes the sticker.
Drag stickers into named, resizable "Pinned" sections to keep a working set of emails in view.
Pin free-text reminder stickers next to your emails and clear them with the needle.
Write new emails, reply to a message, let AI draft the text, and manage signatures.
Tap Summarize in an open email to get key points, the people involved, and a ready-to-use suggested reply — cached so it runs only once per email.